1. Define the buying context and requested decision
A usable LED bathroom mirror specification connects the product envelope, lighting, operation, installation, destination and packaging to one configuration reference. Jiachuang Mirror reviews these inputs through the brief, drawing and sample before order confirmation. Start with the application and sales channel: a wholesale assortment, private-label range and hotel room schedule can share a shape while needing different approvals. State whether the next step is feasibility review, quotation comparison, sample evaluation or final engineering review. Identify the buyer who can resolve open choices.
2. Set the physical envelope and drawing status
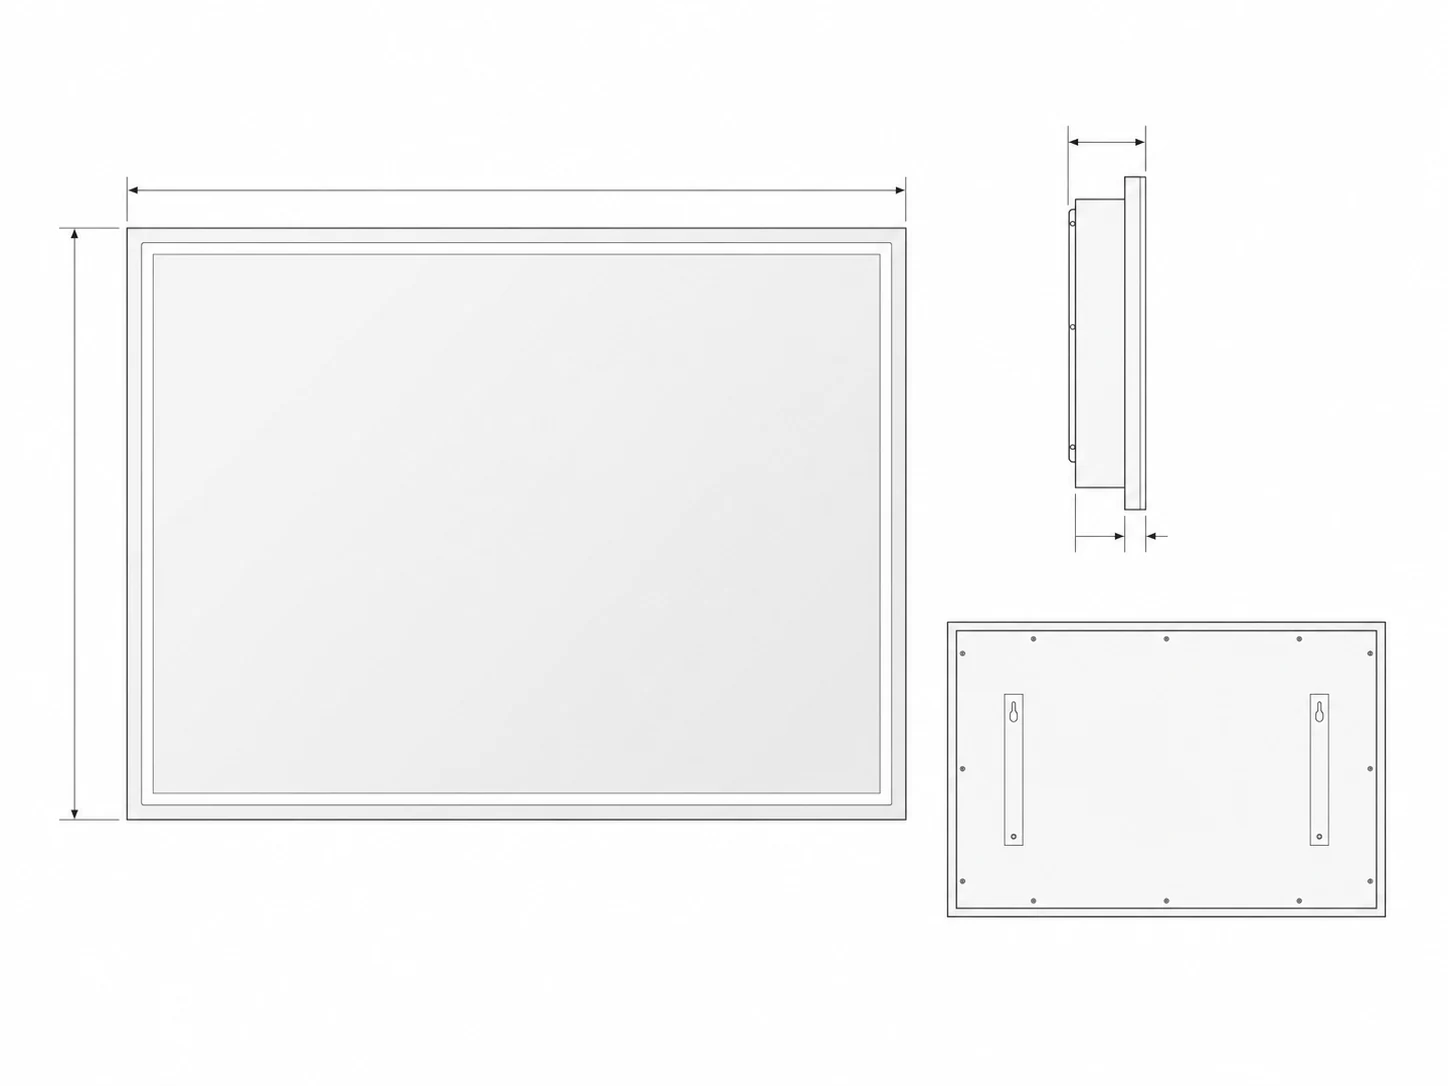
Provide width, height, orientation, relevant depth, frame or edge direction and the mirror-to-vanity relationship. Include the wall condition and nearby fittings when they constrain the installation. Use one unit system and drawing revision. Mark important callouts as required, preferred, reference or supplier to confirm. A reference image describes the visual intent, but it does not establish mounting positions, component clearances or final dimensions. Ask the supplier to identify conflicts against the same drawing instead of replacing an open assumption with an undocumented change.
- Model or platform reference and application
- Width, height, orientation and relevant depth
- Visible edge, frame and vanity relationship
- Drawing number, revision, units and reviewer
3. Specify the light by its intended result
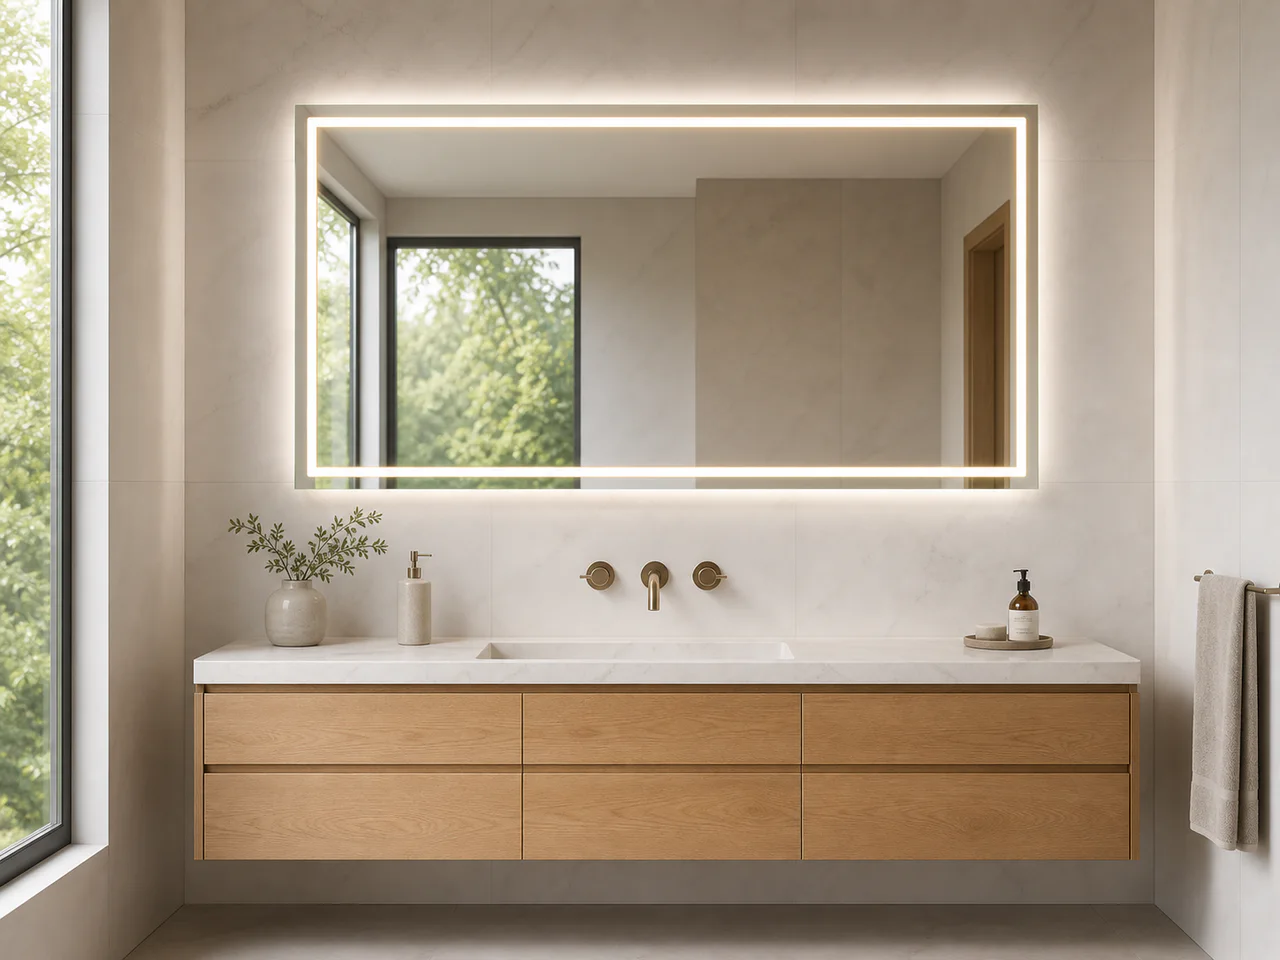
Choose front, back or dual lighting around the required task. Front-lit lines or zones provide a visible illuminated face; backlighting creates a wall halo affected by the mounting relationship and wall finish. Dual lighting combines those roles when the design supports it. Record colour-temperature preferences separately from light output, distribution and colour rendering. If adjustable colour temperature or dimming is requested, identify the settings, control sequence, default state and whether front and back zones operate together. These are configuration questions for drawing and sample review, not universal features.
4. Define controls and the anti-fog clear zone
Describe the actions a user should take, the location of the controls and the expected result after power is switched off and restored. A wall switch, integrated touch interface or hybrid sequence should fit the room electrical plan. List any independent light and anti-fog operation, indicators and instruction needs. For a demister, mark the intended clear zone in relation to the mirror and vanity, then review exclusions around lighting, controls, fixings and rear components. Pad size, power and performance evidence require confirmation for the selected construction.
5. Coordinate installation and market evidence
Record the power-entry point, planned connection method, mounting surface, wall build-up, clearances, service access and installer responsibility. State the destination market and the electrical and documentation questions to be reviewed. The relevant test route, declarations, labels, instructions and model scope depend on the final construction and destination. Keep the drawing, component specification and requested evidence aligned. A market keyword such as CE, UKCA, UL, ETL or RCM is a planning input and does not prove that every mirror platform already holds that mark.
6. Include packaging and the commercial scope
State the initial quantity, variants, repeat-order assumptions, channel and intended handling route. Retail packaging may need brand artwork, product naming, barcodes and instructions, while project packs may need room or block identification. Protection must be reviewed for the selected shape, edges, rear components and included accessories. Keep those decisions separate from approval of the artwork. Compare supplier quotations only when product, quantity, evidence, branding, packaging and delivery scope match. MOQ, price, sample terms, schedule, warranty and spare-parts support require a written quotation for that configuration.
7. Turn the brief into a controlled sample and order
Define what the sample must prove and who reviews appearance, operation, installation, documentation and packaging. Record observations against the model and drawing revision, including unresolved assumptions and accepted changes. Update the drawing, option list, labels, instructions and packaging reference together. Before order release, reconcile those records with the quotation and requested inspection scope. For a repeat order, reuse the approved reference and identify the changes explicitly so a new size, control sequence or label version is not mistaken for the previously approved construction.
- One product and drawing reference
- Sample objective, reviewers and observations
- Accepted changes and outstanding confirmations
- Final configuration, packaging and written terms
| 1. Define the buying context and requested decision | A usable LED bathroom mirror specification connects the product envelope, lighting, operation, installation, destination and packaging to one configuration reference. Jiachuang Mirror reviews these inputs through the brief, drawing and sample before order confirmation. Start with the application and sales channel: a wholesale assortment, private-label range and hotel room schedule can share a shape while needing different approvals. State whether the next step is feasibility review, quotation comparison, sample evaluation or final engineering review. Identify the buyer who can resolve open choices. |
|---|---|
| 2. Set the physical envelope and drawing status | Provide width, height, orientation, relevant depth, frame or edge direction and the mirror-to-vanity relationship. Include the wall condition and nearby fittings when they constrain the installation. Use one unit system and drawing revision. Mark important callouts as required, preferred, reference or supplier to confirm. A reference image describes the visual intent, but it does not establish mounting positions, component clearances or final dimensions. Ask the supplier to identify conflicts against the same drawing instead of replacing an open assumption with an undocumented change. |
| 3. Specify the light by its intended result | Choose front, back or dual lighting around the required task. Front-lit lines or zones provide a visible illuminated face; backlighting creates a wall halo affected by the mounting relationship and wall finish. Dual lighting combines those roles when the design supports it. Record colour-temperature preferences separately from light output, distribution and colour rendering. If adjustable colour temperature or dimming is requested, identify the settings, control sequence, default state and whether front and back zones operate together. These are configuration questions for drawing and sample review, not universal features. |
| 4. Define controls and the anti-fog clear zone | Describe the actions a user should take, the location of the controls and the expected result after power is switched off and restored. A wall switch, integrated touch interface or hybrid sequence should fit the room electrical plan. List any independent light and anti-fog operation, indicators and instruction needs. For a demister, mark the intended clear zone in relation to the mirror and vanity, then review exclusions around lighting, controls, fixings and rear components. Pad size, power and performance evidence require confirmation for the selected construction. |
| 5. Coordinate installation and market evidence | Record the power-entry point, planned connection method, mounting surface, wall build-up, clearances, service access and installer responsibility. State the destination market and the electrical and documentation questions to be reviewed. The relevant test route, declarations, labels, instructions and model scope depend on the final construction and destination. Keep the drawing, component specification and requested evidence aligned. A market keyword such as CE, UKCA, UL, ETL or RCM is a planning input and does not prove that every mirror platform already holds that mark. |
| 6. Include packaging and the commercial scope | State the initial quantity, variants, repeat-order assumptions, channel and intended handling route. Retail packaging may need brand artwork, product naming, barcodes and instructions, while project packs may need room or block identification. Protection must be reviewed for the selected shape, edges, rear components and included accessories. Keep those decisions separate from approval of the artwork. Compare supplier quotations only when product, quantity, evidence, branding, packaging and delivery scope match. MOQ, price, sample terms, schedule, warranty and spare-parts support require a written quotation for that configuration. |
| 7. Turn the brief into a controlled sample and order | Define what the sample must prove and who reviews appearance, operation, installation, documentation and packaging. Record observations against the model and drawing revision, including unresolved assumptions and accepted changes. Update the drawing, option list, labels, instructions and packaging reference together. Before order release, reconcile those records with the quotation and requested inspection scope. For a repeat order, reuse the approved reference and identify the changes explicitly so a new size, control sequence or label version is not mistaken for the previously approved construction. |